

Remember how I told you I did all kinds of getting-ready-for-winter tasks a few weekends ago?
Well I had planned to tell you about a quick little project much sooner… but, like most things home-related, things took much longer to finish up than I had planned or guessed.
But today I have a freshly painted and face-lifted front door!
First, a little background. The door is in bad shape, no doubt about it. And if I was thinking, I would have replaced it before my house was painted… But I didn’t. The fake plastic mullions are broken and have yellowed with age, and the bottom is bent and rusting. Three summers ago I gave the door a little mini makeover– spray painted the mullions white, neutralized the rust and gave the whole shebang a fresh coat of paint. I even spray painted the doorknob with oil rubbed bronze spray paint (this method is highly controversial in blogland, but it held up great for me! I used some fine-grit sandpaper and a deglosser before spray painting)
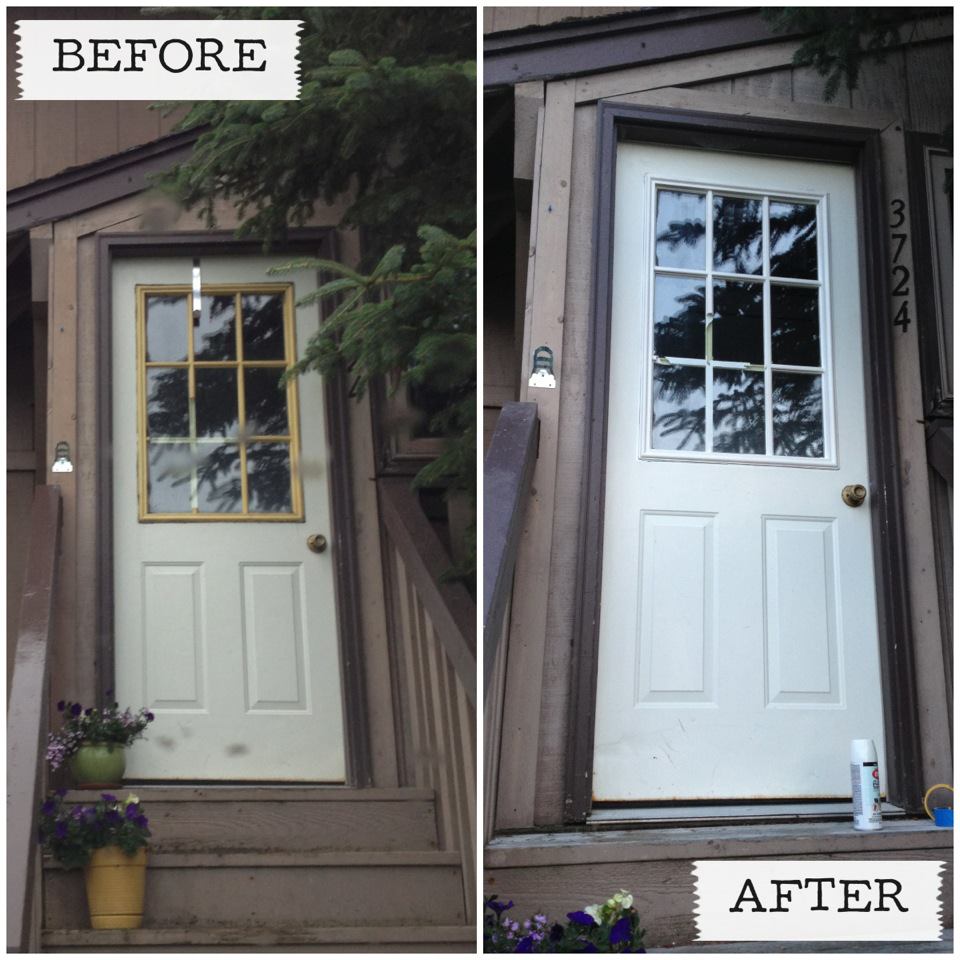
I painted the door Benjamin Moore Agave and I loved it. The spring green looked great with the old brown-on-brown paint job.

Unfortunately, I had the house painted this summer and the agave color totally clashed with the new green trim!
I pulled out my trusty Benjamin Moore Affinity Colors paint deck and started testing options. Unfortunately I wasn’t able to find the one. So I went to the paint store armed with a few choices that were close. I didn’t find a paint chip that grabbed me, but the store was having a sale on their mis-tinted paint… and I found the perfect shade of purple. I got so lucky! A whole gallon of a good quality exterior paint for $3!
I followed the same steps as I did 3 summers ago, including neutralizing the rust and re-spray painting the mullions. They still looked great from the street but the paint was starting to peel a little, so I thought it was a good time to touch it up. Last time I wasn’t so careful with the masking… but this time I made sure to protect that new paint!
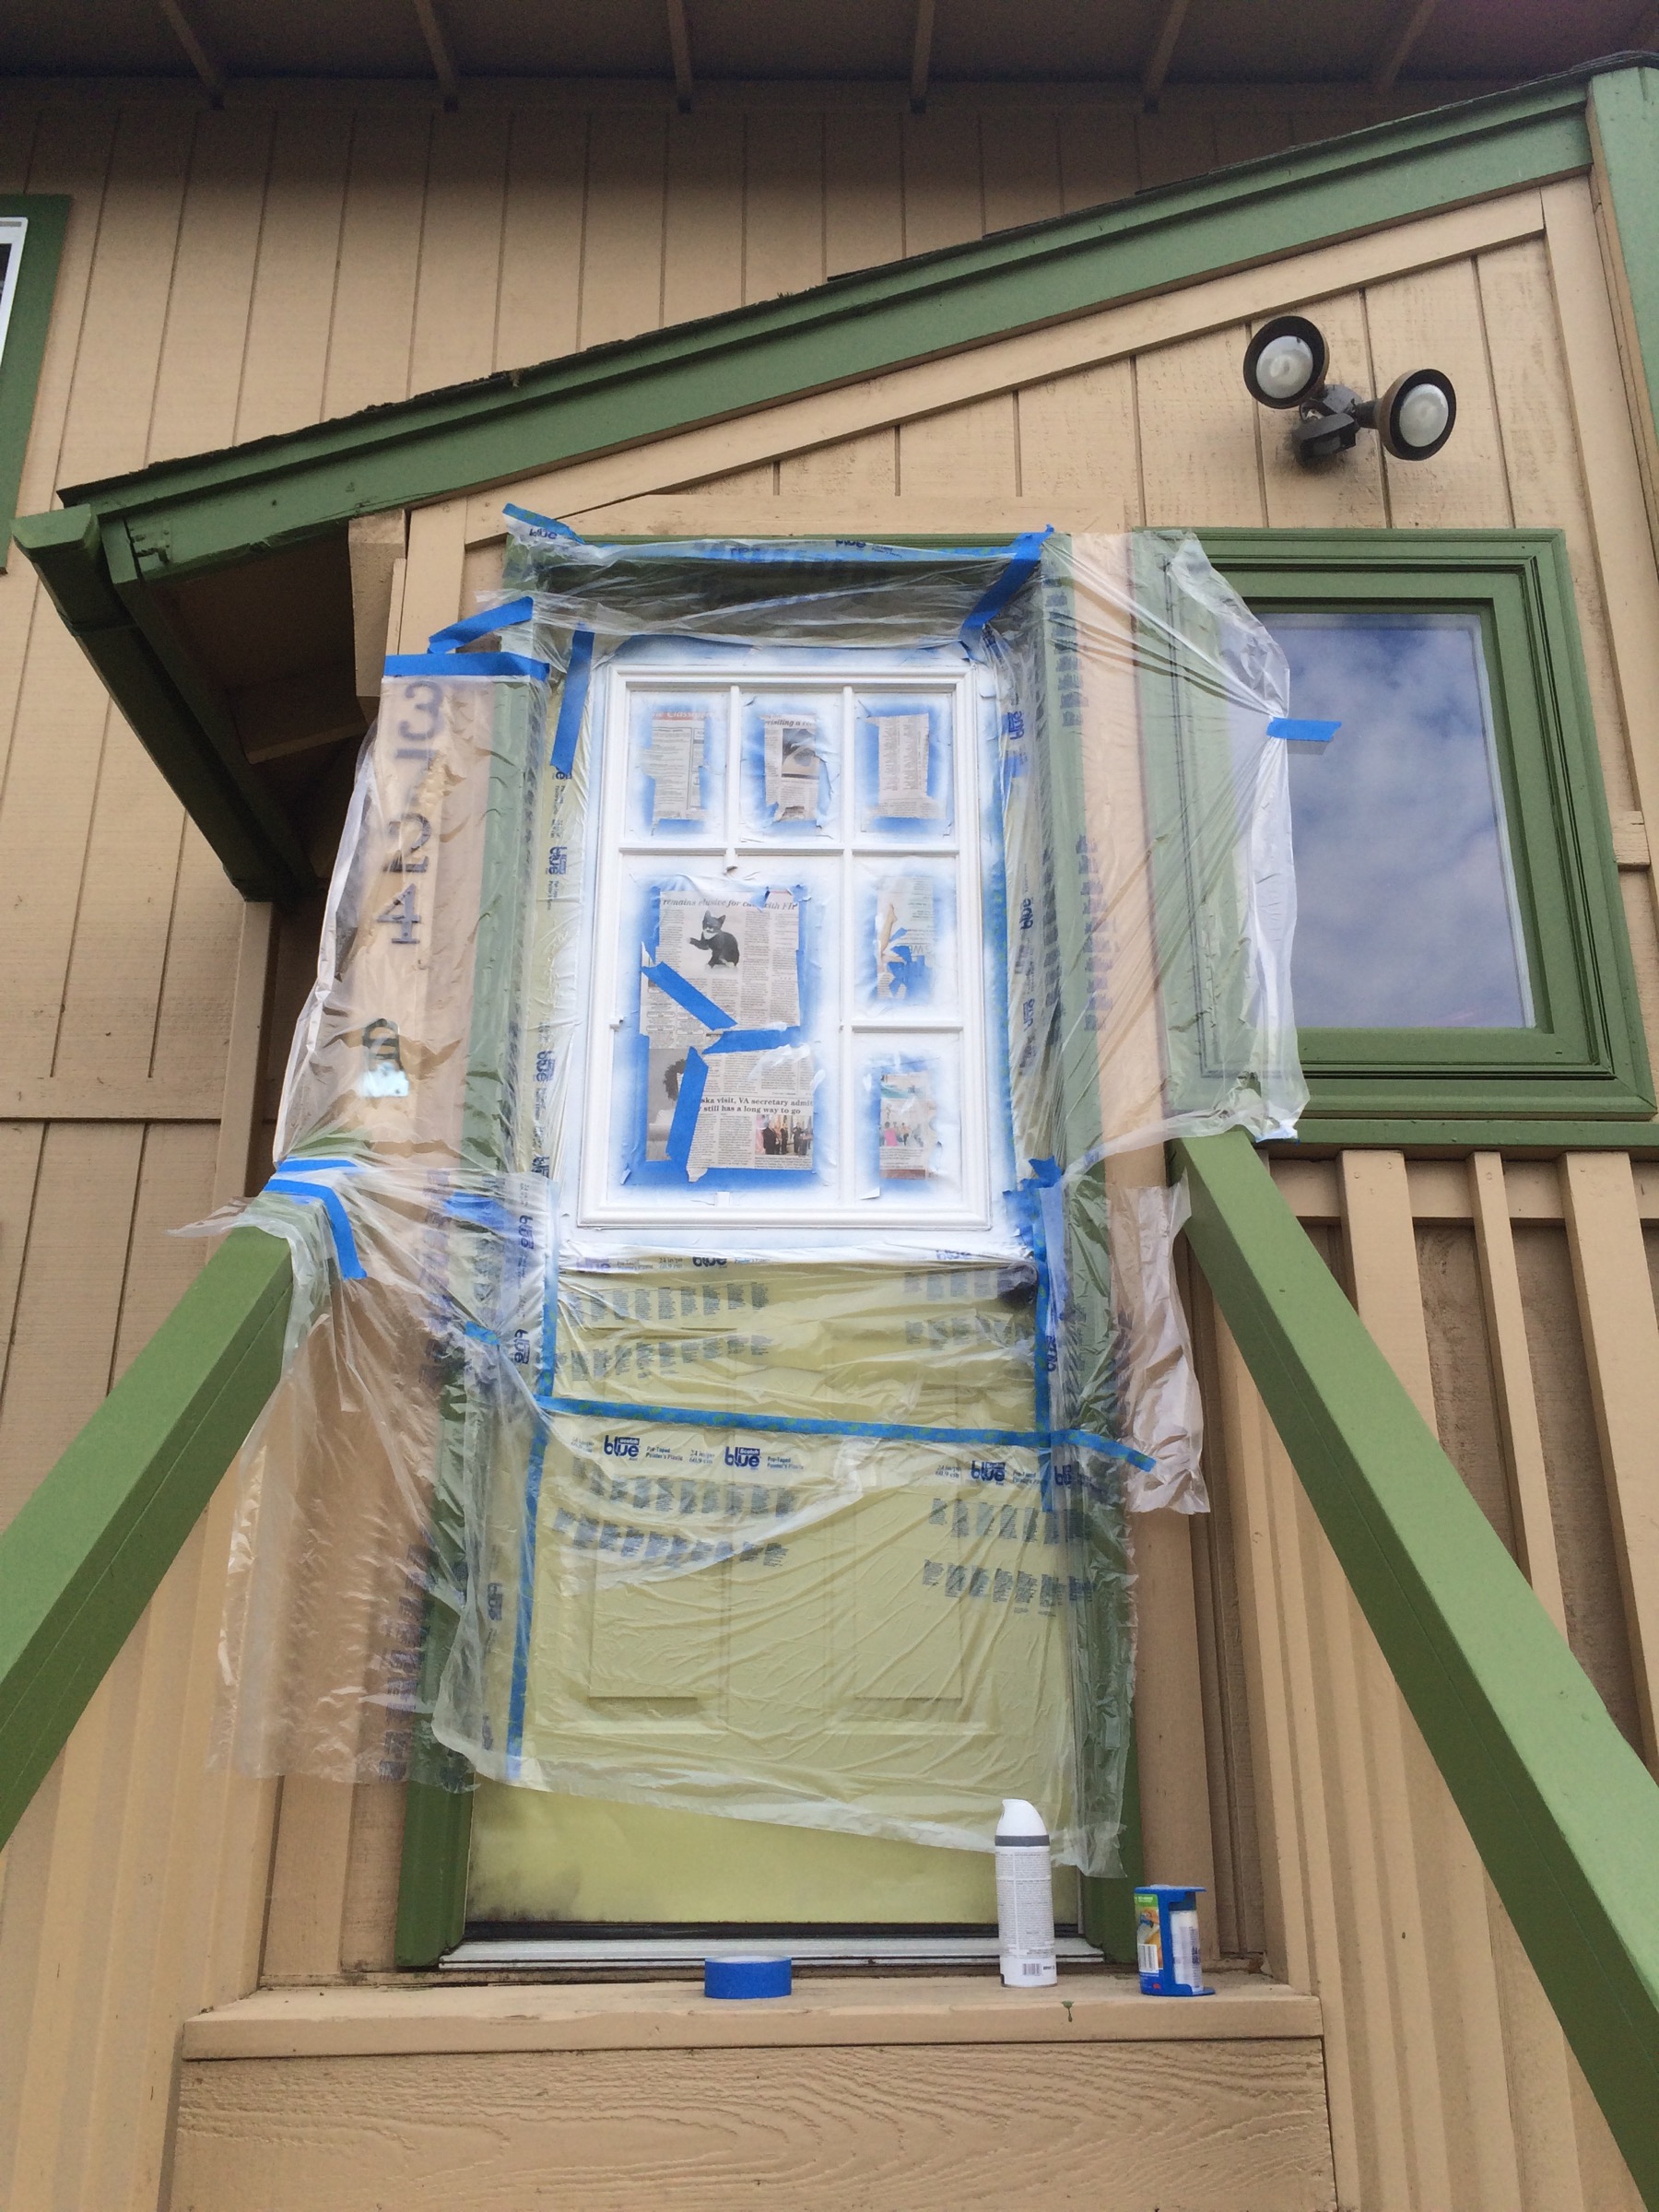
The next day I put the first coat of purple paint on!

I made sure to follow all the instructions on the paint can. The main requirements were the temperature has to be above 35 (check!), 2 degrees higher than the dew point and no rain in the forecast for 24 hours.

It looked pretty good!
Until it didn’t.
Even though I thought I was in the clear, weatherwise, that evening it cooled off fast and everything was quickly covered in dew… within hours of painting.
In the morning I found little purple puddles in the mud room (I just left the door slightly ajar – this is the door to my mudroom, not my actual front door) and it looked like this:
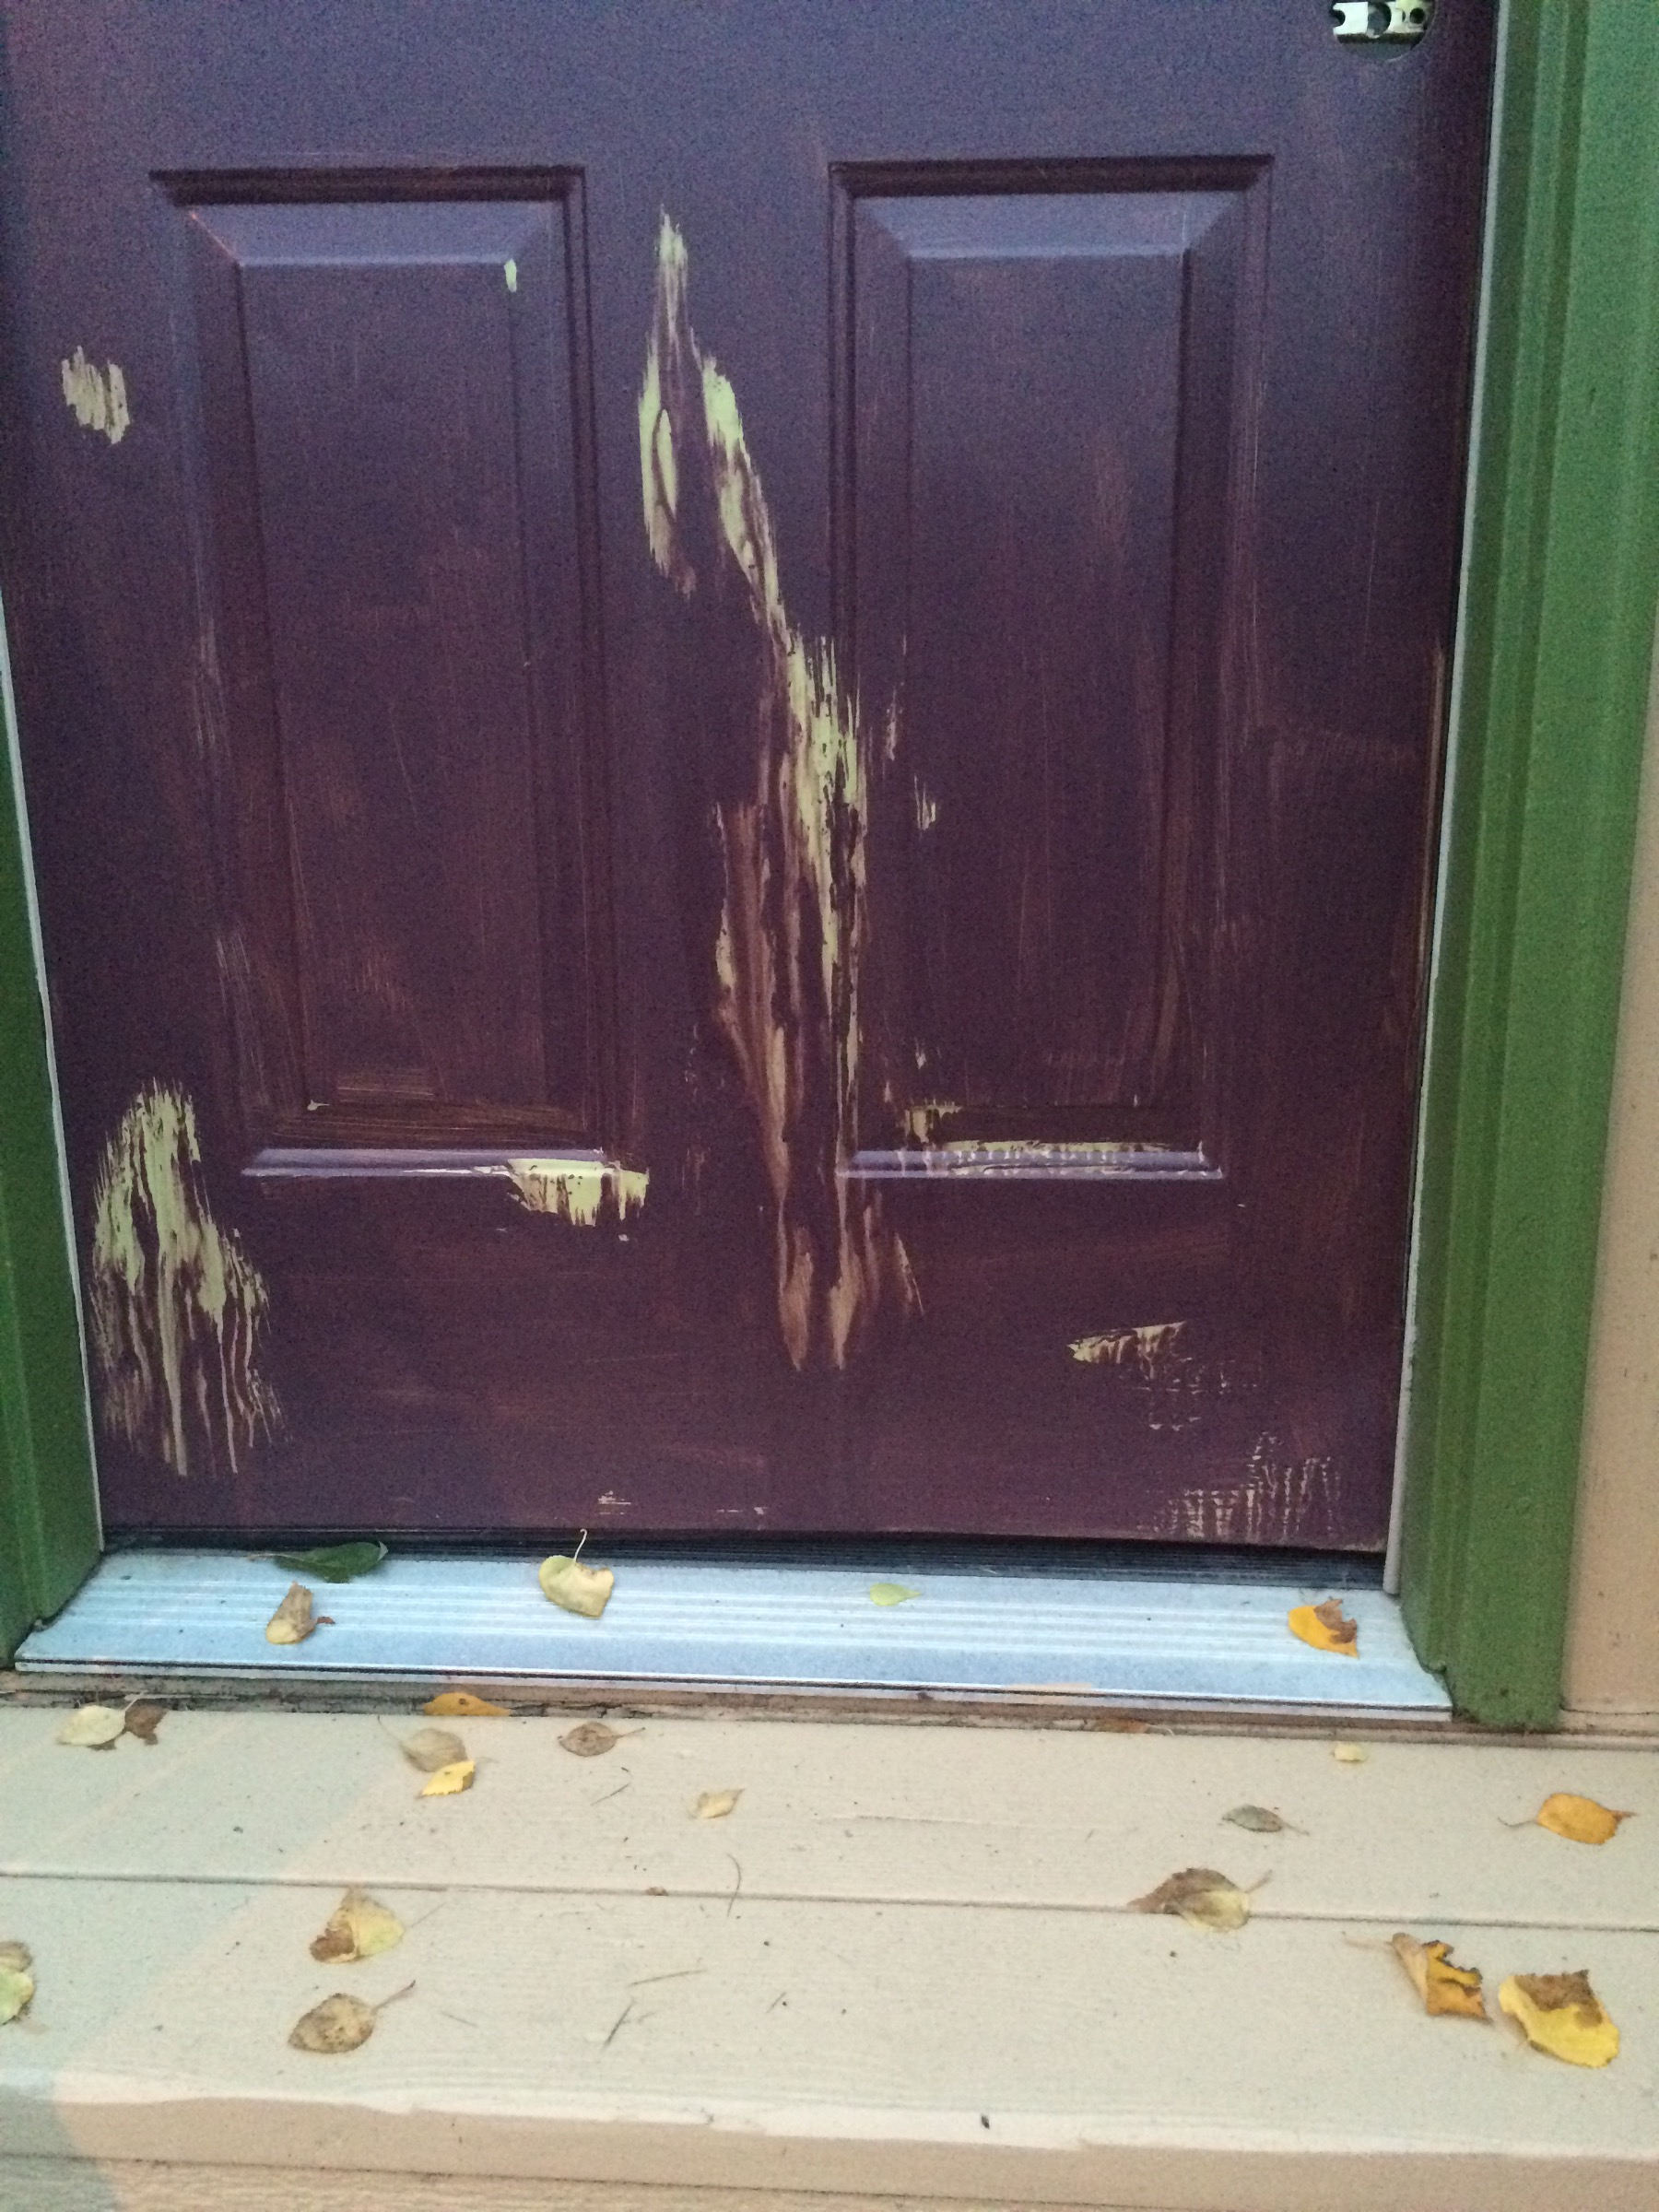
Ack!
And then it rained. And rained. And rained.
What’s funny is that when I bought the paint, I told the cashier “yeah, I gotta get going on this before I run out of painting weather!” and he said “you’ve got a couple weeks left!”
Well it rained for at least 14 days straight (there go my “couple weeks”)!!!
Finally this past weekend I was able to finish this up. I gave everything a quick sanding (luckily it just looked worse than it was) and put on 2 coats of paint! And last night I installed a new (not spray painted) doorknob!

So there’s my “quick” front door makeover! And just in the nick of time– it’s almost too cold to paint these days! Mission for next summer: find a better light fixture!
