Well…
I only posted about one of the blocks I made… but I’ve been busy!


I finished up 7 (and a half) other blocks, sewed them together and then quilted, bound and labeled a quilt! I only took a few pictures along the way (bad blogger!). I heard there was a prize if you’re the first to bring a finished quilt back to a participating store… so I didn’t mention it in the last post, but that was my goal. All week I’ve been watching the Row by Row facebook page and seeing people claim the prizes at the stores I visited, so I knew I had to move quickly. I wanted to wrap this up this weekend, and based on stores schedules (ahem, not open on sundays), I wanted to finish by Saturday morning. It really wasn’t much of a stretch until it came to hand-sewing the binding down. I’m not even going to mention what time I went to bed last night!
Anyway, this morning I brought the quilt to a local store (Quilted Raven, downtown Anchorage!) and claimed their prize! They were so sweet and they took my picture for their facebook page (and the Row by Row page). It was definitely a tiny mental challenge to bring in a finished quilt for people to look at (presumably people who were more accomplished and experienced quilters!). I don’t think I’ve ever put myself “out there” like that before, since usually the people looking at the quilt are my close friends/loved ones/recipients. I say “tiny” because I tried not to think about it too much and let it make me nervous– but I recognized the challenge and it felt good to breeze past it.

So now for the technical deets:
I quilted this quilt with a loose wave from side to side, using my walking foot and a blue variegated thread. The backing and binding were from my stash (woo! feels good to use what I’ve got!). I wasn’t sure how much backing fabric I had and it ended up being close to the perfect amount, so that was a happy accident. The print is from Tula Pink’s Saltwater line, which is one of my favorite designers and fabric lines (stay tuned– I’m working on a Saltwater quilt too!). The binding is a grassy green, which worked out nicely. I love a contrasting binding and this was just right!
I made the label by cutting a 6″ square and folding it in half diagonally. It was stitched down under the binding and then ladder-stitched down at the top (when I did the binding). I just used a sharpie. I’ve never labeled a quilt before (at least not by myself!) so I took the easy way. It’s funny I used that light-colored batik only to realize it looks like something I left in the bottom of my swim bag! Hopefully I always remember it’s the fabric and not stained and mildewed, haha.
Here are the stores I visited:
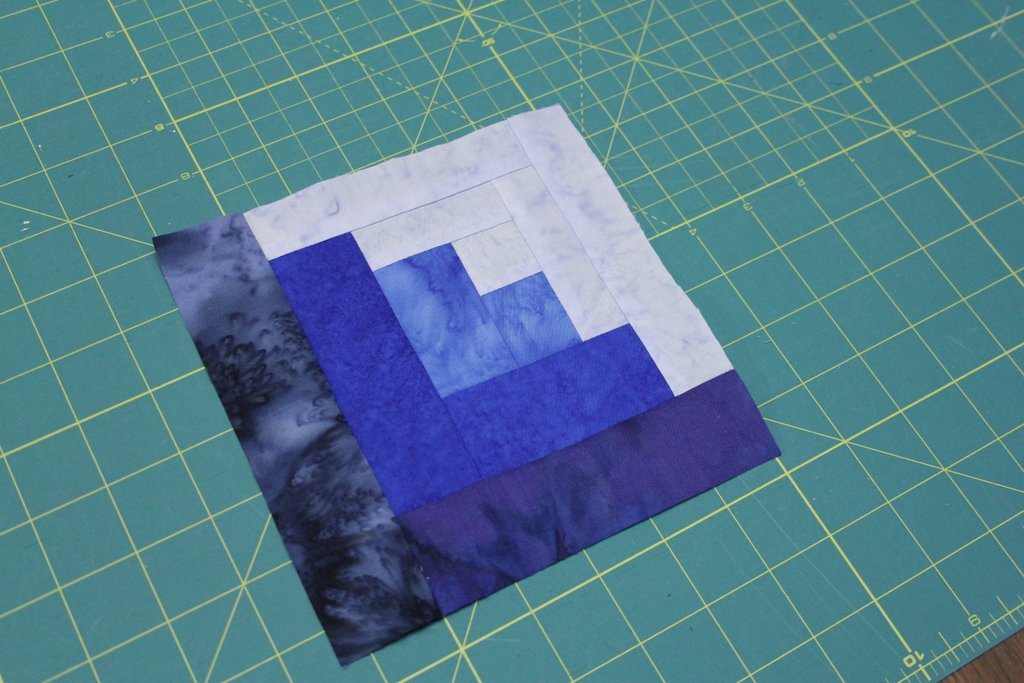
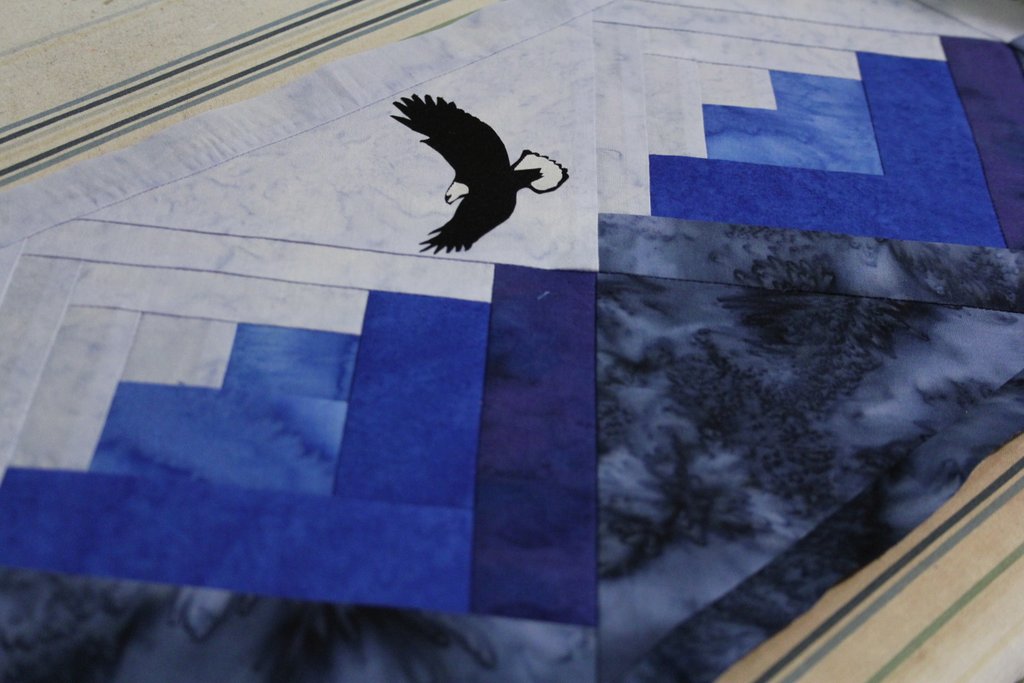
The left side: Quilt Zone, Anchorage and a silhouette of a mermaid I traced from a wall hanging in my house!
The right side: Seams Like Home, Anchorage and bits and pieces of Bearly Threaded, Cooper Landing
The center column, top to bottom:
- Robin Place Fabrics, Soldotna
- Swift Stitches, Talkeetna
- Sew ‘n Bee Cozy, Seward
- Sylvia’s Quilt Depot, Wasilla
- Quilted Raven, Anchorage
- Quilt Cache, Eagle River
I sure love shop hops! I’m looking forward to gathering more blocks (and making duplicates of the ones I’ve collected!) for wall hangings and table runners.
And I’d like to say an extra big thank you to the Quilted Raven!
Shew! Now on to the other projects (and housework) I’ve put off to get this one done!